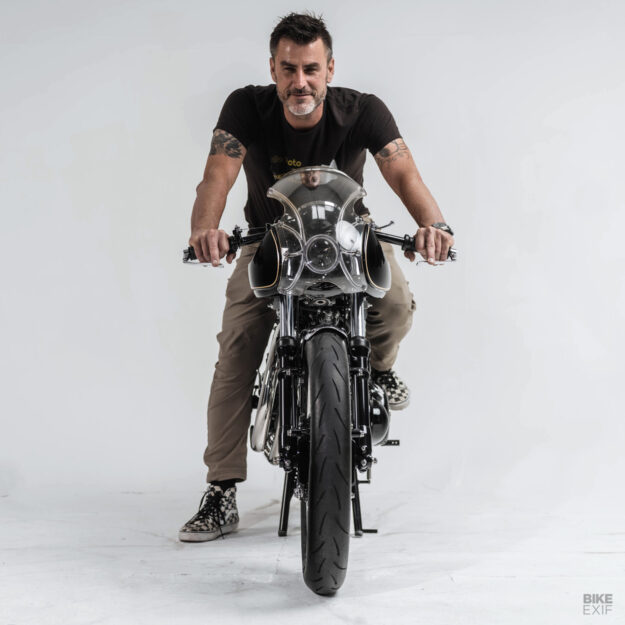
Bryan Fuller is one of those guys who can work magic on anything with wheels and tires. He’s a next-level fabricator who learned his skills with legends such as the So-Cal Speed Shop and Chip Foose, and today he’s at the top of the custom tree in the USA.
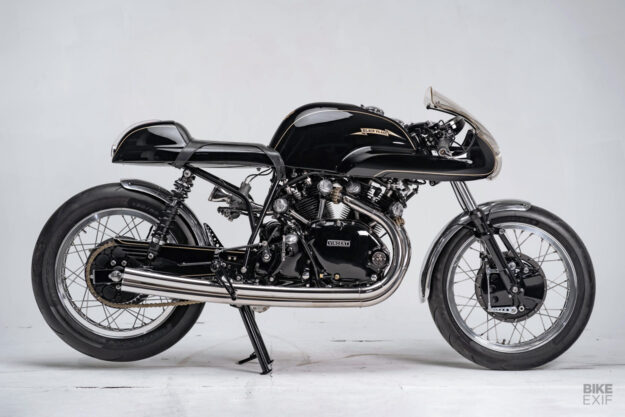
Despite his regular TV work, he still gets on the tools in his Atlanta, Georgia shop—and he aims as high as ever. This incredible Vincent has been three years in the making, and it’s one of his most exciting builds yet.
“When I first was exposed to these quirky-looking engines, I thought they were overrated,” Bryan tells us. “But after a couple of decades in the custom industry, my view of Vincents has changed. These motorcycles are masterpieces that combined engineering, art, and speed—far ahead of their time.”
The story of this build starts in 2019 when Fuller’s client Shaun Lamb bought a reproduction Vincent Series C 1000cc engine. He arranged for it to be shipped to the Fuller Moto workshop.
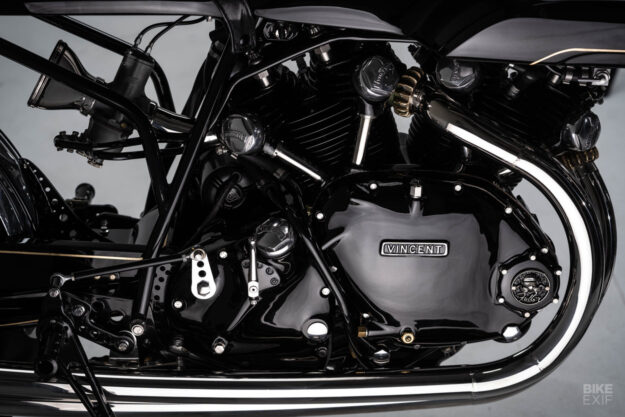
As well as the engine, Bryan received “a nice pile of parts” including a modern 12V charging system, electronic ignition, basic wiring and gauges, and an electric start. “The parts list also included a reproduction Egli frame with the oil tank built into the top tube, and a swingarm … with some mediocre shocks.”
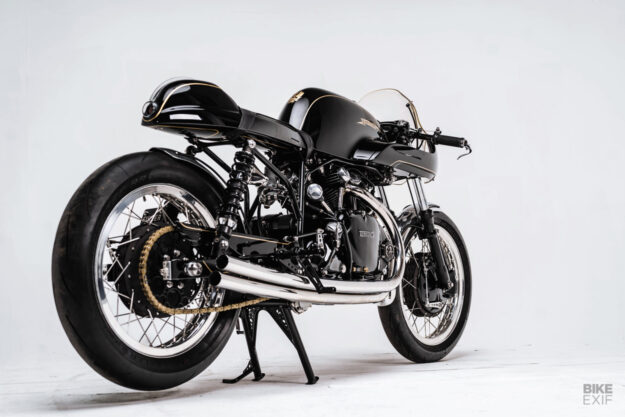
“When the parts showed up we did a full inventory and began the mockup process,” says Bryan. “Shaun liked our ‘Misty Green’ Norton Commando from a few years ago, but the frame mockup just wasn’t quite ‘there’ for either of us.”
Bryan removed any parts that weren’t hitting the mark and began redesigning the entire foundation. To start with, the rear frame area was too wide and bulky, and not suitable for the tidy little tail section that Bryan had in mind.
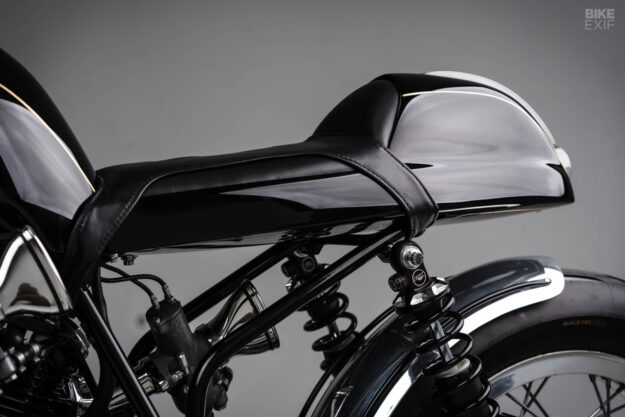
So, he scrapped the tubing from the oil tank backward and fabricated new Chromoly tubing in its place. Fox shocks now suspend the rear.
Then he took Ducati’s Imola-style tank design and integrated it with a compact fairing. “This was a function of necessity; we wanted to get at least two gallons of gas capacity while keeping the large tubular oil reservoir.”
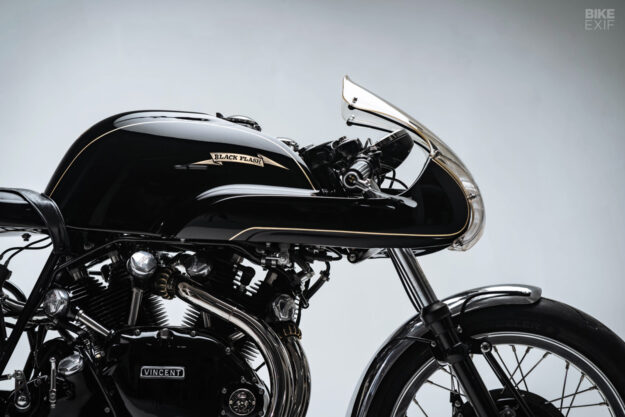
The center portions of the tank and tail started life as a five-inch-wide strip of aluminum. Bryan then water-jetted a custom die for his Pullmax [metal shaping] machine to keep the shape consistent in the front and rear.
“This is a great way to get started and keeps the design cohesive. The tail and seat came together pretty good after some tweaking and tacking.”
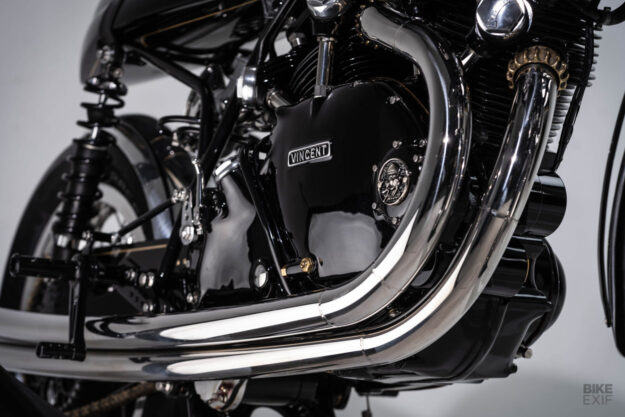
Next was the stainless exhaust, which uses 1¾-inch tubing rolled on a three-wheel roller to get the long swooping pieces. “The u-bends were then made on a mandrel bender and are spliced together to create the rest.”
“It’s very tight in the head area, and since the header flanges are threaded, we needed to be very careful that they didn’t get stripped. We made a special tap to chase the threads at one point.”
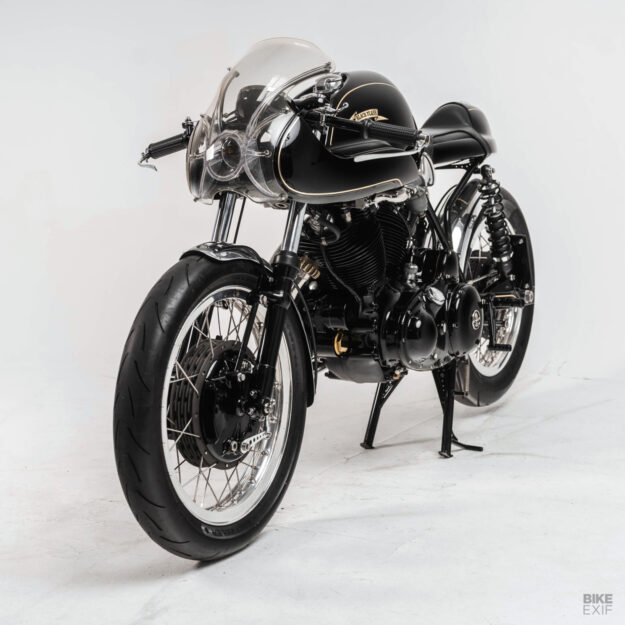
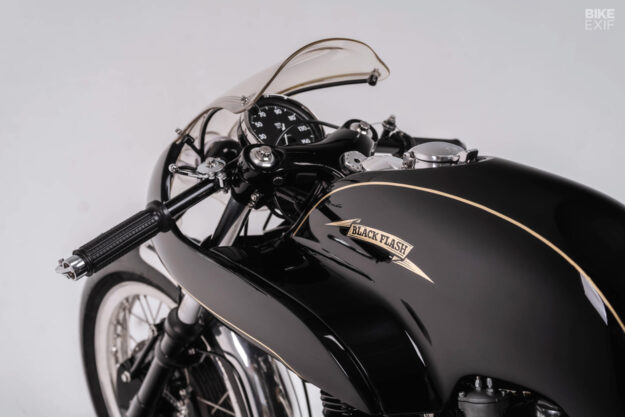
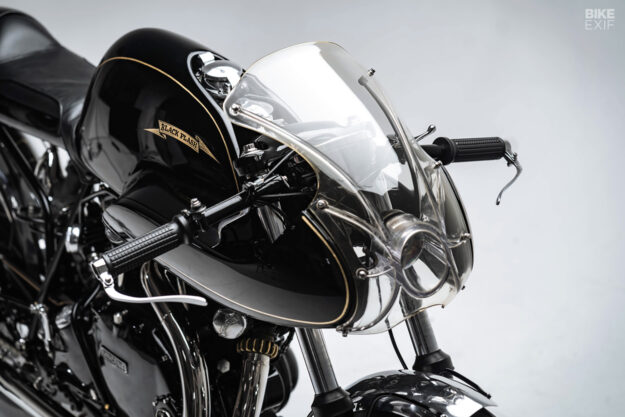
The windscreen is much higher tech. “The concept was to be able to look straight into the bike and see directly into the guts of the triple tree and headlight area,” says Bryan. Dallas-based 3D printer Adam Tulin took Bryan’s cardboard templates and made (as far as we know) the first printed motorcycle windscreen.
“It took a few sample prints to get things dialed in,” Bryan notes. “Adam nailed the design, and we even integrated the factory mounts of the headlights into the print—which made assembly very easy.”
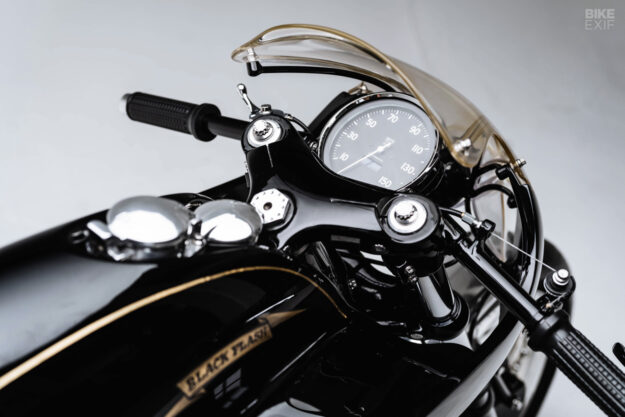
Shaun requested a Smiths tachometer be put on the bike, to match the originals. Bryan didn’t have the unit in his hands until very late in the build, but a roll of 2-inch masking tape worked as a placeholder.
The birdcage bracketry uses bungs made on the lathe and a ¼-inch steel rod painstakingly bent into configuration. “There was a good deal of back and forth adjusting, untacking, retacking and making sure each hole lines up just right. This screen is about as tight as you can make it.”
The brakes and triple trees are reproduction magnesium units from Argentina, supplied by Shaun. “I was worried the raw mag finish was going to look weird with this highly polished machine,” says Bryan. “So we powder coated and then painted the side plates to have the most visible parts match.”
A trickier job was printing oval titanium intake runners and stacks. “Custom-making intake tubes can take some time, and metal finishing is always a long process,” Bryan explains. “We printed several mockups out of plastic to get the positioning just right.”
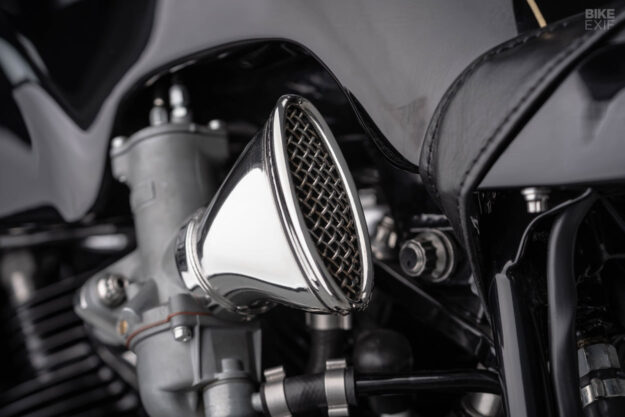
“Metal printing is an amazing technology that we are using more and more on our projects. I’ve yet to find an impurity in the stack of parts we’ve done so far.”
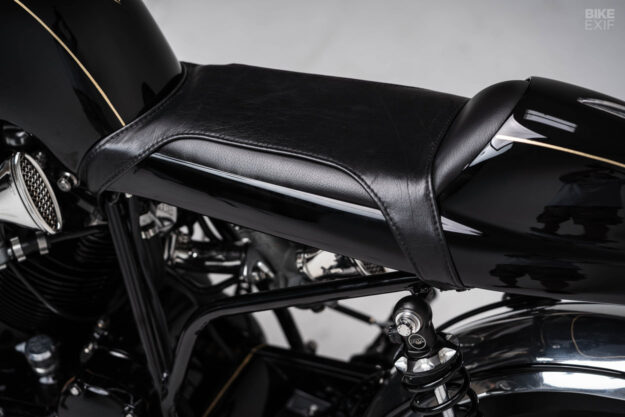
After a little extra finesse for the lines of the tank and fairing, Bryan sketched out the flying buttress seat cover idea with Fuller Moto staffer Cato. “We had an old leather jacket to use as the seat material. I love how the design came together—I don’t remember seeing another like it.”
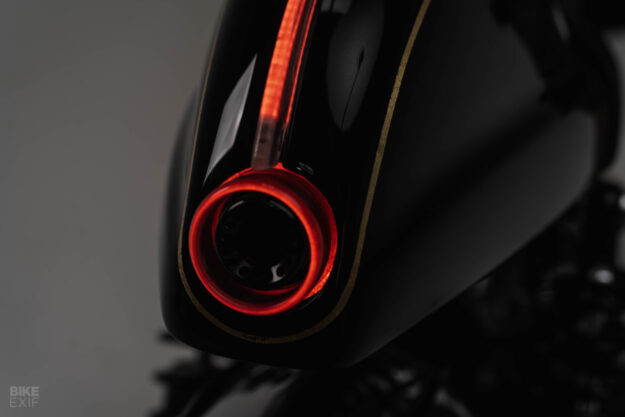
The compact tail unit hides the electronics and a battery compartment, and Bryan has water-jetted a clear ‘spear’ that runs over the top and around the cylindrical taillight. It’s a neat see-through trick that adds a touch of magic in the dark.
As with all Fuller Moto projects, almost every fastener on the Vincent was swapped out with ARP stainless 12-point fasteners. (“This project was an even harder swap than usual, due to the mixture of Whitworth, Standard, and Metric thread patterns and sizes.”)
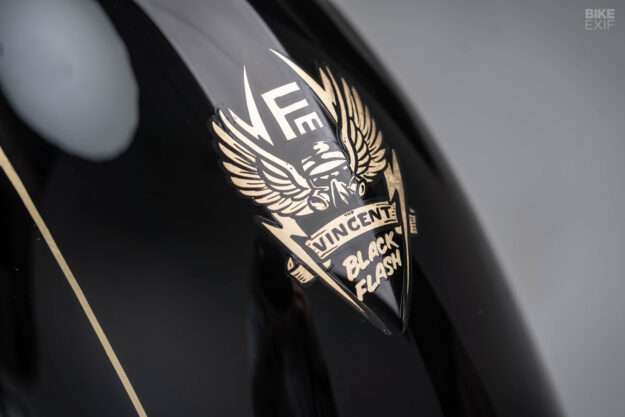
After a couple of years of on-and-off work, everything was ready for painting and polishing. “Our in-house paint shop laid out some flawless, killer black flat paint. Chastin Brand came in to help with the logos and stripes.”
Bryan says that the name ‘Black Flash’ was an easy choice: “One of the few names in the Vincent family not used, as far as I know.”
‘Black Flash’ has just finished touring the shows in the US, and she’s now ready for a real shakedown. “I’m getting chills thinking about heading down an open road, getting the throttle open, and seeing that Smiths head towards redline!” says Bryan.
And who wouldn’t? Black Flash is as close to motorcycle art as you can get—and a brilliant homage to the classic Egli cafe racers.
Fuller Moto | Facebook | Instagram | Images by Steve West
