Our resident expert mechanic Matt McLeod reveals what he looks for when buying a used motorcycle.
I take a checklist with me when I look at a used bike. I’m never expecting a secondhand bike to be flawless, but I’m looking for problems—and assessing ‘how much’ it will take me to correct these problems, either with time or money.
Generally nothing is a ‘show stopper,’ but it should determine the price you are prepared to pay for the bike. I use this list to document the problems I find, so I have a basis to negotiate with the owner. Remember, value is perceived: As an old hot rodder once told me, “A project is worth scrap value until it is registered.”
If you think the seller is asking too much, and you can’t agree on the price, then let it go. Another project bike will come along. And remember, you’ll find about half the problems with this inspection. A few months living with the bike will reveal the rest of the problems.
In my own shop, I prefer to do as much as I can in-house, without paying for outside vendors. Firstly, I like to learn how to do-it-myself. This can be a method to save money, with a trade off in the time invested. Secondly, if you have to use an outside vendor, you are reliant on them for schedule, cost and quality.
So you should assess the motorcycle against the skills you currently have (or plan to learn), and the tools and equipment you have. All the points in the list below are based on my personal approach. If you’ve got some thoughts on something I’ve missed, or tips of your own, share them in the comments section.
Preparation: Before the Inspection
- Check model-specific forums. Has anyone posted a checklist for this specific model? Have they pointed out any problems with this model? Do they have any noises or characteristics that are considered ‘normal’? If you can’t find this information, post on the forum and ask for help. The guys who know this model will probably be happy to help.
- Research prices—at what prices are these bikes selling on Craigslist or eBay? What is the top price you can find, and what condition is this bike? How does this compare to the listing you are researching, and values in local guides like NADA? What about obvious parts like tires, chains and sprockets? If it needs tires immediately, you need these costs to negotiate with the seller.
- Check out the photos in the listing—can you see any obvious problems? If possible, price up replacement parts before you get to the bike. These costs can also be used to negotiate with the seller. On the flip side, if the seller can only provide second-rate grainy photos shot in a dark shed, alarm bells should be ringing.
- Ask the seller via messages what the bike needs to be finished/running/registered (or whatever is relevant in this case). Price up the parts that the seller identifies.
- Generally, it is less risky, but more expensive, to purchase a bike that is complete and runs well. If the bike is presented to you in crates, there is obviously more risk. This might be okay if you have the patience, skills and budget to build a bike from a box of parts, but you have to make that decision yourself.
- After going through this process, I’ll form my own opinion on the value of a bike. For the inspection, I’ll take a certain amount in cash, so I can do an immediate deal if the bike is suitable.
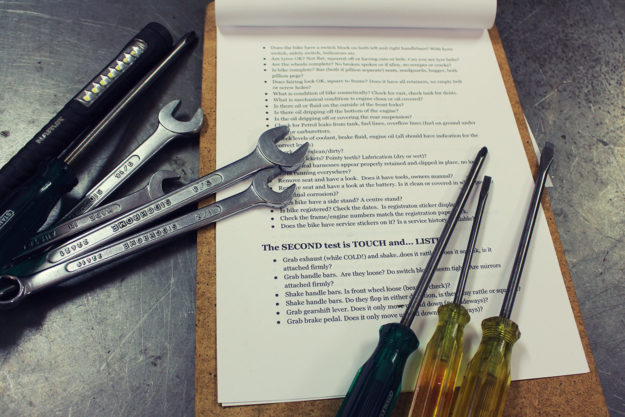
- Get some equipment together for the inspection: a decent flashlight is a must, and some hand tools like wrenches and screwdrivers. Get old rags to clean oil off the bike and your hands, and maybe a tire pressure gauge if you plan to ride the bike. Have some of your research printed out—which is great for negotiating with the seller. And of course take this checklist and a pen to write up any problems.
- If the bike is in running condition, ask the seller to make sure the bike is not started or warmed up before you arrive. You want to check how it starts from cold.
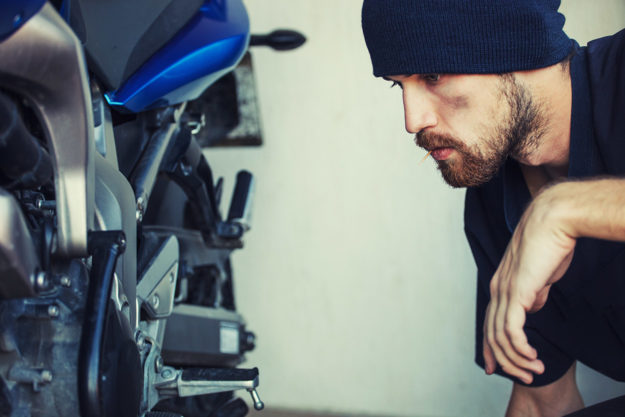
The First Test is Look
- Does the bike look okay? Stand back and walk around the bike. Does anything stand out? Obviously missing? Different from left side to right?
- Does the bike look straight? Look from rear, front and side on. Are the forks straight and parallel? Frame tubes not obviously damaged from impact?
- Check the front and rear wheels—are they in line and parallel? This is most obvious when the bike is on the center stand, or a race stand.
- If the rear wheel doesn’t appear to be parallel to the front wheel, is it square in the swing arm? Check the markings on the chain adjusters on the swing arm. Are they in the same position left and right? Look along the drive chain. Do the links look straight?
- If the bike is on a center or race stand, spin the rear wheel. It should spin freely and smoothly and stop immediately when the rear brake pedal is pressed. Also watch the spinning wheel from behind—does it have a ‘wobble’ (or ‘run out’) while it spins? This can probably be corrected on a spoked wheel, but on an alloy wheel might indicate it is bent, and this is harder to correct.
- Does bike have all the controls intact? Brake & clutch levers? Throttle? Rear brake pedal? Gear shift pedal? Mirrors?
- Does bike have lights and indicators (if applicable)? Lenses not cracked or broken?
- Does the bike have a switch block on both left and right handlebars? With horn switch, engine stop switch, indicator switch?
- Do the tires look okay? Check the sidewalls for cracks, check the tread depth. Is the tread depth uneven across the width of the tire (e.g. worn out in the center)? Can you see tire belts?
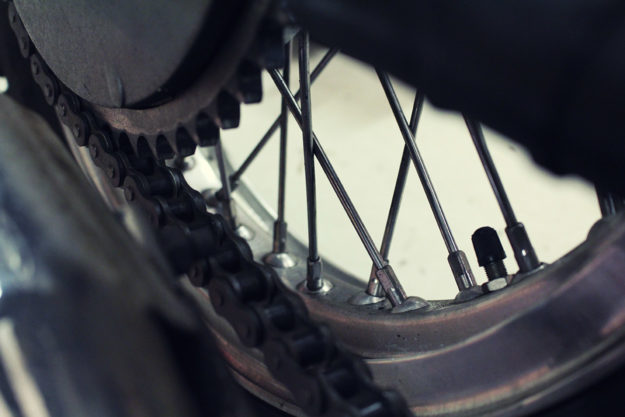
- Are the wheels complete? No broken spokes or if alloy, no significant scrapes or damage?
- Are the rider amenities complete? Seats, fenders, hugger, both pillion pegs?
- How does the fairing look? Does it appear to be fitted properly to the frame? Does it have all its fasteners—are there any empty retainer holes?
- What is the condition of the bike cosmetically? How does the frame look? Plastics? And the fuel tank? Check for rust, check tank for dents. Surface rust is generally repairable. Holes in fuel tanks due to rust are a bigger problem. Open the filler cap and shine the flashlight inside the tank—how bad is the rust? Will it even hold fuel or has it all leaked out?
- How does it appear mechanically? Can you see any obvious oil leaks? Does it look like it has been looked after? Can you even see the engine under accumulated oil and dust?
- Are there oily black dirt rings around the front forks indicating leaking seals?
- Is there oil dripping under the engine? Is there a fresh shiny wet oil puddle under the bike? If it has been moved out for your inspection, get down and have a look under the engine cases. Is the bottom of the engine “wet” with leaking oil?
- Can you see any oil on the rear suspension?
- Check for gasoline leaks from the tank, fuel lines, overflow lines (fuel on ground under bike) or carburetors. If you can smell gasoline, there is probably a leak somewhere. Don’t attempt to start the bike until you locate and fix the leak.
- Check levels of coolant, brake fluid, engine oil (all should have indication for the correct levels). Some bikes might not have a sight glass on the front brake reservoir (1970s stock Harley-Davidsons, for example). Use the tools you bought to take the reservoir cap off and check levels. If the contents of the reservoir look like gunky gel, it needs stripping and cleaning.
- Look at the chain. Is it covered in oil and dirt? Is it clean and lightly lubricated? Or is it dry and rusty?
- What about the sprockets? The rear sprocket might be the easiest to check. Are the teeth very pointy, indicating they need to be changed?
- Do electrical harnesses appear properly retained and clipped in place, with no loose wires running anywhere?
- If the bike is a ‘project’ there are some further warning signs. Can you see lots of extra electrical tape covering the wiring? Are there any red, blue or yellow commercial crimp connectors visible—as opposed to proper sealed automotive connectors? Aged, damaged, chopped and modified harnesses can lead to lots of reliability problems.
- Remove the seat and have a look. Does it have tools and an owner’s manual?
- Have a look at the battery. Is it clean, or is the positive terminal covered in white powder (terminal corrosion)?
- Does bike have a side stand? A center stand?
- Is bike registered? Check the dates. Is a current registration or safety inspection sticker displayed?
- Do the frame and engine numbers match the paperwork?
- Does the owner’s handbook have service stickers on it? Is a service history available? Even just receipts for work undertaken, or parts purchased?

The Second Test is Touch and Listen
- With the back of your hand, touch the engine. It should be cold. If the owner has started and warmed up the bike contrary to your request, they could be hiding any multitude of problems. Either leave, or make your assessment, and halve the price you think the bike is worth.
- Grab the exhaust (while COLD) and give it a shake. It should be securely retained.
- Grab the gearshift lever. There should be a small amount of looseness (‘free play’) before you can feel resistance as it shifts gears. Does it only move up and down (without any appreciable sideways movement)?
- Do the same check on the brake pedal.
- Move the rider and pillion pegs. Do they rotate freely on their joints?
The Third Test is Sit
- Sit on the bike and hold the front brake. Bounce on the seat to compress the rear suspension. Then stand up and lean over the headstock. Push down hard to compress the front suspension. Any squeaks or groans? Is damping evident, or does the suspension ‘pogo’ up and down?
- Turn the handlebars left and right, as if you are steering the bike. Do the bars move freely, or are they stiff during motion?
- Grab the front brake and push forward, then pull back on the handlebars. Can you feel any movement from the steering neck bearings?
- Check the handlebars and controls. Do the bars rotate in the clamps? Do switch blocks seem tight? Are mirrors attached firmly?
- Does the seat move when you sit on it and wiggle your butt? It should not be loose.
- Is the chain adjusted correctly? Reach down while you are sitting on the bike. Check for 12-25 mm (½” to 1”) sag in the bottom chain halfway between the front and rear sprocket.
- Operate the front brake lever. Does it move freely with progressive resistance as you squeeze and the brake engages? Rock the bike back and forth to confirm the brake operates.
Operate the clutch lever. Is it stiff, or does it move freely? - Check that all the lights work. Turn them on—headlight, high beam, stop light, and instrument lights. Step on the rear brake pedal and grab the front brake lever. Confirm the brake light works separately on both front and rear brake actuation.
Finally: The Road Test
- These steps assume the bike will run, and has gasoline in the tank.
- Is the engine easy to start, or does the owner demonstrate a special start routine?
- Is the engine noisy on start up? Can you hear chain or gear noises? Any ticking noises?
- Does it blow smoke? If it makes any noises, do they get faster as the engine revs up?
- Does the noise level from the exhaust seem excessive? Can you find any exhaust leaks?
- If the bike is fitted with a choke, push it in when the engine has warmed up (put your hand on the cylinder head and see it is warm). Will the bike idle without the choke?
- Put the bike in first gear. Does it shift easily into gear? Can you get it back into neutral at a standstill without a lot of effort?
Assuming there is nothing that scares you at this point, perhaps it is time to go for a ride. If you are not sure, have a qualified technician go over the bike and test it for you. Go easy until you are sure the brakes work well. Listen for any noises. Again, do the noises increase or disappear with increasing road speed? Does everything work the way you expect?
Can you imagine spending two hours riding it? Did you come back with a smile on your face? If yes, congratulations! It looks like you have found a good project bike, it’s now time to negotiate with the seller.
Buyer’s tips
Here is the process I normally employ to negotiate with the seller. Having done my research, I’ll inspect the bike and have a good idea of what I think it’s worth (obviously the seller will probably disagree!) The bike will always be in worse condition than the listing photographs suggest.
I’ll be making notes on my checklist every problem I find.
- Once I’ve finished the inspection (and test ride, if applicable) and I’ve decided what price I am prepared to pay (in my head), I’ll say to the seller, “Okay, what is your best price?”
- Option 1 is the seller will throw out a price, which will probably be way above the price you have decided upon. At this point I’ll reply with, “No, I can’t pay that.”
- Option 2 is the seller will respond with “I’m not sure, what do you think its worth?”
- At this point, I’ll politely step through the list of problems I found, and starting putting some dollar values against the repairs or parts that will be needed.
- Once I’m finished, I’ll then say, “The bike is worth ———— to me.” Immediately I’ll pull the envelope of cash from my back pocket and say “I’ve got that in cash, and I’d like to take the bike right now.” At this point I will stop talking.
- This puts the seller in a position where they have to make a quick decision between cash OR no cash. The seller might respond in a couple of ways. The first response is to counter with a higher price. My reply will be “No. I’ll pay.” Stop talking and wait for their answer.
- The seller might then say, “I’ve got someone else looking at it tomorrow, I’ll let you know”. Then I simply say “If I have to come back I won’t make the same offer. This offer is for me to take this bike right now.”
- In the best case, the seller will want the cash now, so you have a deal.
- In the worst case, the seller will hold out. In this case, their price is above the value you put on the bike, so let it go.
There will be other bikes to choose from. Perhaps they’ll call you back in a week and agree to your offer, which is still a win for you!
Got any tips to add to these? Sound off in the comments below.
Want to see Matt do an inspection on his own bike? Watch the video here.
